Thursday, July 3, 2014
TUTORIAL FOR A KARATE BLACK BELT ON BABY SHIRT
For the karate obsessed!
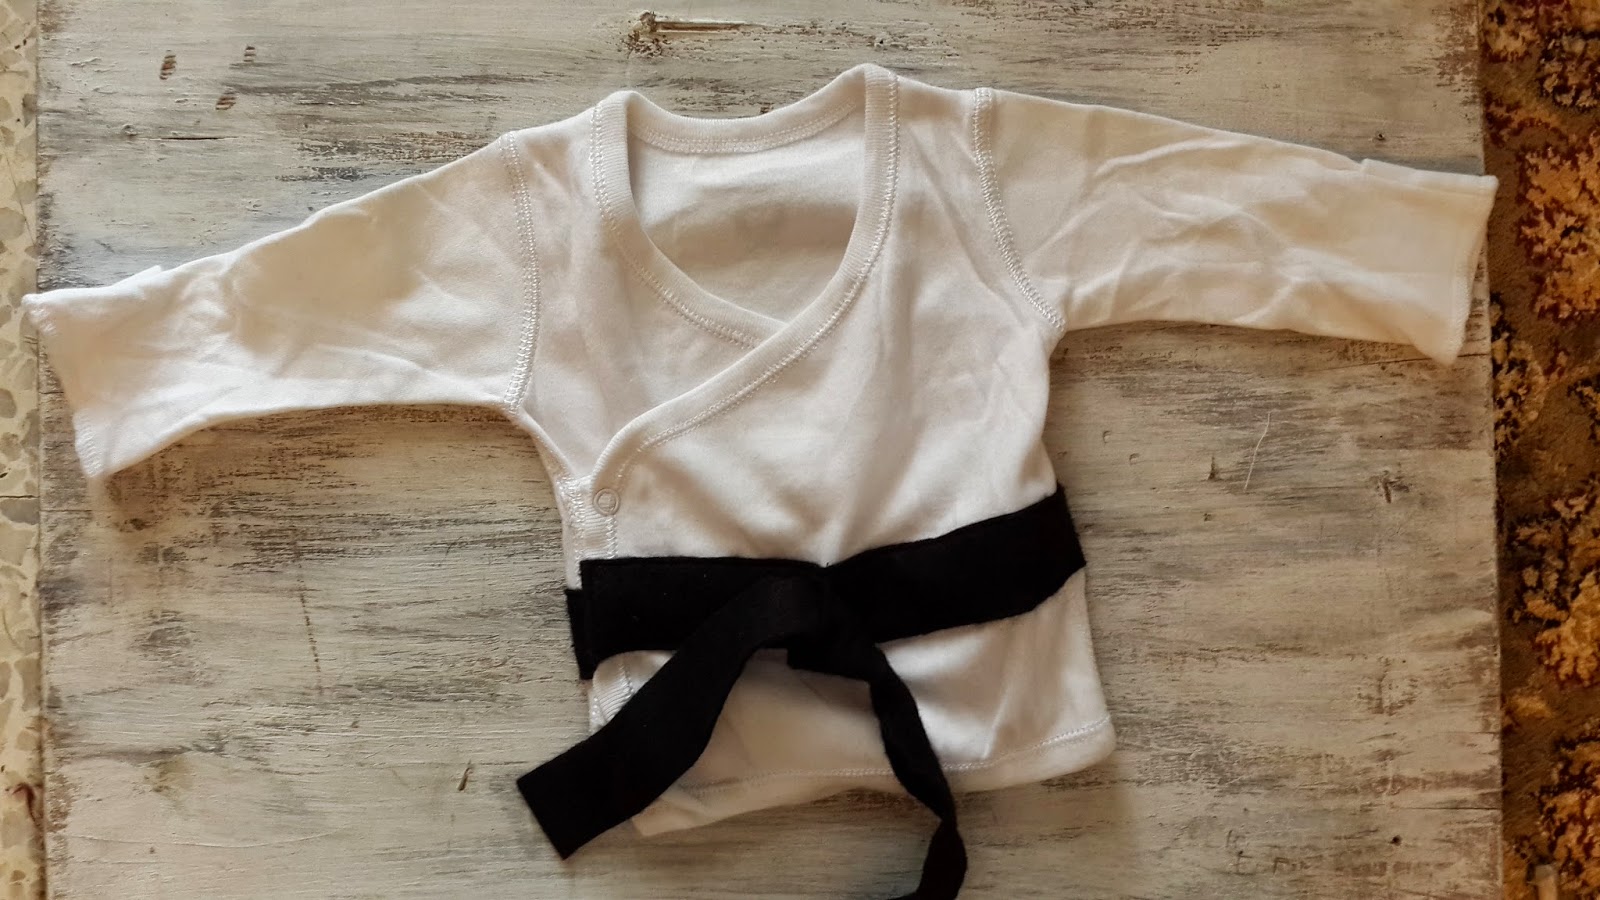
A new grandson is on the way. This is what I stitched as requested by the father for his brand new son.
Equipment :
Buy a newborn wrap over baby shirt
A piece of black felt 16 inch square
Black thread
White tailors chalk for marking
Pins
Sewing machine
Method :
Measure and cut a long piece of the black felt according to desired width (about 11/4 inches). The length for the 'belt' should be long enough to go right around the shirt starting from the left edge of the shirt front to the right edge of the shirt back in one long continuous piece. In this case it was 16 inches long.
Measure and cut a second strip of the same width but slightly shorter in length (maybe 2-3 inches shorter) but long enough for you to tie into a knot with the ends hanging down by about 3inches.
You would now want to make a mark for the centre of the front part of the belt :
Place the shirt flat on a table. Take and place the longer (16 inch) strip across the front and around the back of the shirt. Then draw a line down the centre front part of the belt using a white tailors chalk.
As you can see in the photo below, I used a mock baby shirt for clearer demonstration. I wrapped the belt right around the 'shirt'. I then drew a white line along its centre front.
Now, taking the shorter strip measure and mark its centre with a white chalk as well. You then place the shorter strip on top of the longer strip making sure the white lines of both strips coincide.
I pulled the ends of the shorter strip downwards so you could see that there are two separate strips in the photo, one being on top of the other.
Machine stitch on that mark downwards so that the shorter strip lies on top and becomes attached to the longer strip underneath.
Once you have stitched the shorter strip over the longer strip you can now prepare to stitch the whole longer (underneath) strip to the shirt itself.
First, holding the longer strip place it on the shirt and starting from the left front edge of the shirt pin it into position and go on pinning at intervals right around to the right edge of the back, the whole belt being positioned slightly below the waistline of the shirt.
You may hand stitch long running stitches after you have pinned if you are new to sewing, to avoid dealing with pins while machine stitching, but I did not find it necessary.
Once the belt has been pinned or hand stitched into place you can now machine stitch the belt keeping the stitches close to the edges of the belt, all the way around the shirt, from front to back, along the short edge and round again from back to front and finishing along the second short edge. Double stitch a little at start and finish. It's done.
You can now tie the short strip into a knot and it's ready to be gifted.
This is the actual completed piece.
Subscribe to:
Post Comments (Atom)


No comments:
Post a Comment